Getting set up on a new official portal can sometimes feel like a puzzle, especially when you are doing it for the first time. Whether you are a Principal/Head of Institution (HoI) managing a school, a Sub-County Quality Assurance and Standards Officer (SCQASO) overseeing compliance, a Teacher managing classroom learning, or an IT Personnel handling technical setups, onboarding onto the Kenya Education Management Information System (KEMIS) is your gateway to managing vital educational data.
To make your first-time login as smooth as possible, the system uses a specific initial password reset process. Follow this straightforward, step-by-step walkthrough to activate your account and access your dashboard.
Phase 1: Requesting Your Initial Password
Because your account is pre-created by system administrators using your officially registered email address, you will not be registering from scratch. Instead, you will use the “Forgot Password” feature to trigger your very first credential set.
1.Open your web browser:Step 1.
Launch a reliable, secure web browser on your computer or smartphone (such as Google Chrome, Mozilla Firefox, or Microsoft Edge).
2.Navigate to KEMIS:Step 2 & 3.
Type or paste the official link into your address bar: https://kemis.go.ke and press enter to arrive at the official KEMIS landing page.
3.Access the login portal:Step 4.
Locate and tap the Login icon or button on the landing page to open the credential fields.
4.Enter your username:Step 5 & 6.
Input your official registered email address into the username field. Leave the password field entirely blank for now.
5.Trigger the password reset:Step 7 & 8.
Click on the Forgot Password link. The system will refresh and present you with a new prompt asking for your username.
6.Confirm your email:Step 9 & 10.
Type the exact same email address into this new username field and click Submit.
Phase 2: Activating Your Account
Now that the system knows you are trying to access your account, it will dispatch temporary credentials to your mail.
1.Check your inbox:Step 11 & 12.
Open your personal or official email inbox in a separate tab or app. Look for an email from KEMIS containing a system-generated temporary password. (If you don’t see it within a couple of minutes, remember to check your Spam or Junk folder).
2.Return to KEMIS:Step 13 & 14.
Navigate back to the KEMIS login page. Enter your email address as the username once again.
3.Log in with the temporary key:Step 15.
Copy the system-generated password exactly as it appeared in your email and paste it into the password field, then click log in.
4.Create your secure password:Step 16.
The portal will immediately prompt you to change your password. Choose a preferred password that adheres to security protocols: it must be at least 8 characters long and include a mix of varying characters (such as uppercase letters, lowercase letters, numbers, and special symbols).
Phase 3: Final Login and Verification
Your account is now fully secure and personalized. The final step is to verify that your specific professional designation has been properly mapped.
1.Return to the login screen:Step 17.
Go back to the primary KEMIS login screen to test your new credentials.
2.Enter your final credentials:Step 18 & 19.
Type in your standard email address and input the newly changed password you just created. Click login.
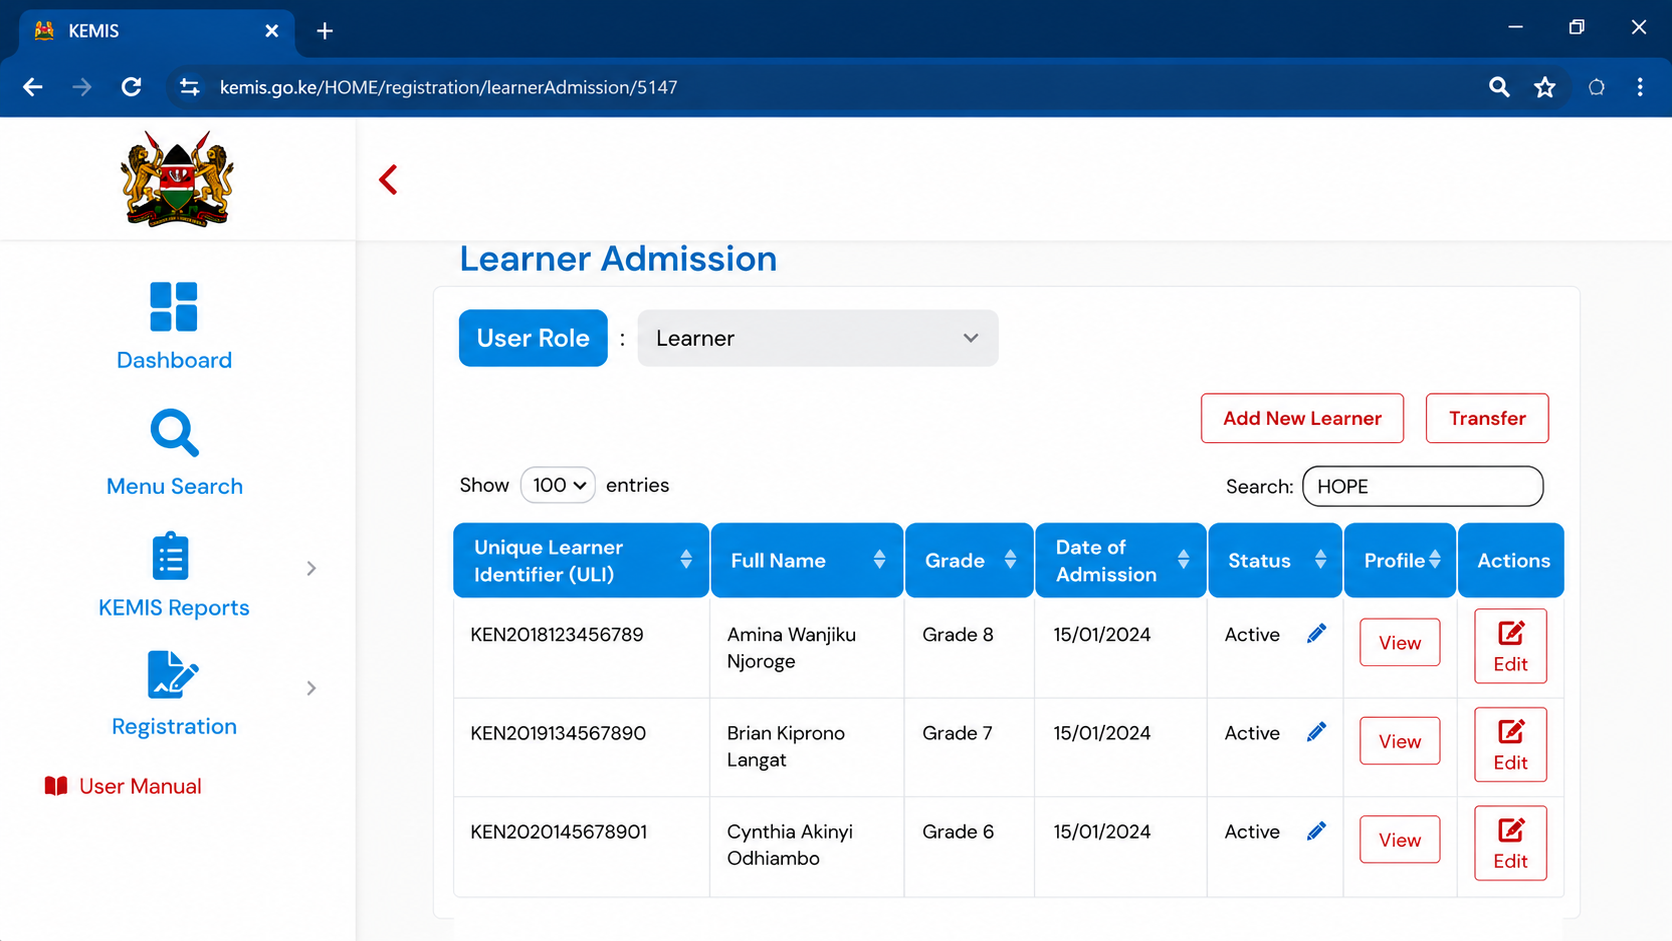
3.Verify your dashboard designation:Step 20.
Welcome to your personal KEMIS landing page! Look closely at the top header or profile inscription to verify your correct deployment role, for example:
-
Principal / HoI: Inscription displaying your School Name.
-
SCQASO: Inscription reading SCQASO of your subcounty.
-
Teacher / IT Personnel: Inscription indicating your assigned workstation or school panel.
Troubleshooting Tip: If you click “Submit” on Step 10 and the system returns an error stating your email address is not found, it means your details have not yet been uploaded into the master registry database by your school head or county ICT director. Contact your respective administrator to ensure your profile is uploaded before repeating this guide.